Installing USB2CAN on Linux
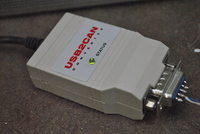
This article describes how to use the USB2CAN interface with VSCP on Linux. While I am installing the interface on Ubuntu Linux, there is no reasons why it shouldn’t work on other distributions as well. We’ll be using VSCP’s built-in driver. The interface is subsequently tested using the VSCP Works suite.
USB2CAN driver
Ubuntu doesn’t need this driver, but if your Linux does, there is a Linux driver available on the product page on the 8Devices website. It points to a GitHub repository where you can download a zip archive.
Extract the files, enter the folder where you extracted them, and issue a ‘make’ command (as root of course). The drivers will now build.
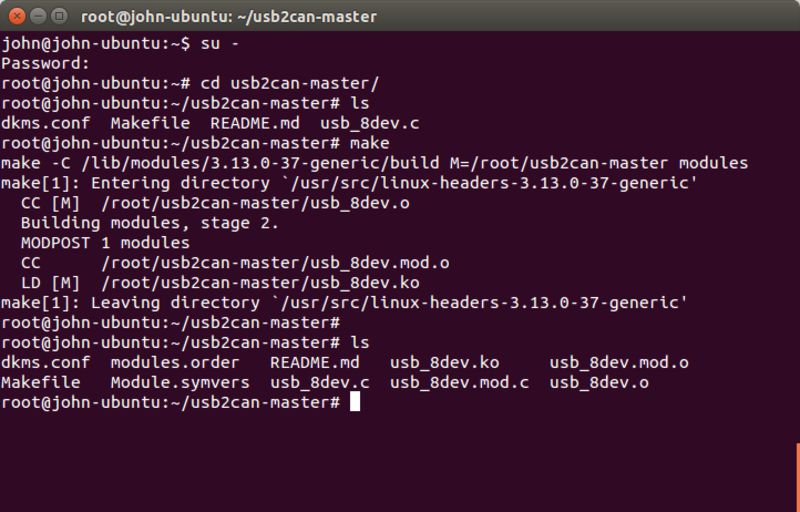
To start the driver, the README file that came with the drivers asks to issue the following commands:
modprobe can_raw
modprobe can_dev
insmod usb_8dev.ko
ip link set can0 up type can bitrate 1000000 sample-point 0.875
Of course we’ll need to change the bitrate to 125000 for standard VSCP or 250000 for the Hsselt and Antwerp modules.
To start the CAN bus, do:
ip link set can0 up type can bitrate 250000 sample-point 0.875
If necessary, the can0 interface can be shut down again with the command:
ip link set can0 down
VSCP Works driver
I am assuming that VSCP Works has been properly configured and installed as per the instructions on vscp.org. Another article on this site, Installing VSCP Daemon in Windows, has some relevant information on how to set up the daemon.
The VSCP daemon has two drivers defined in it’s config file (/etc/vscp/vscpd.conf):
<!-- Level I socketcan - driver is documented in 30.4 -->
<driver enable="false" >
    <name>VSCPSocketCANDriver 1</name>
    <path>/usr/local/lib/socketcandrv.so</path>
    <config>can0</config>
    <guid>00:00:00:00:00:00:00:00:00:00:00:00:00:00:00:00</guid>
</driver>
and
<!-- Level II socketcan - driver is documented in 30.4 -->
<driver enable="true" >
    <name>VSCPSocketCANDriver 1</name>
    <path>/usr/local/lib/vscp2drv_socketcan.so</path>
    <config>can0</config>
    <guid>00:00:00:00:00:00:00:00:00:00:00:00:00:00:00:00</guid>
</driver>
Changing the driver enable line for the corresponding driver to true enables the driver. Restarting the VSCP daemon loads the driver.
I have found the Level I driver to be slow and somewhat erratic, the Level II driver does the job and is preferred. So I’ve changed driver enable to true for this driver, as you can see in the code snippet above. Don’t forget to save the config file.
Starting the VSCP daemon
Let’s start the daemon:
/usr/local/bin/vscpd -s
Of course we’ll need to run this as root. In this example I’ll run with the -s switch so that we can see the vscpd running and can interact with it. If you want to run vscpd as a proper daemon, i.e. in the background, simply run without the -s switch.

If the driver started correctly, in the /srv/vscp/logs/vscp_log_general.txt log file you should see log entries similar to:
2014-11-01 11:24:55 - Loading level II driver: <VSCPSocketCANDriver_1>
VSCPSocketCANDriver_1 Started at 2014-11-01 08:35:13
If you log on to the VSCP daemon web page (localhost:8080/vscp), the Devices - Interfaces menu should list the VSCPSocketCANDriver_1.
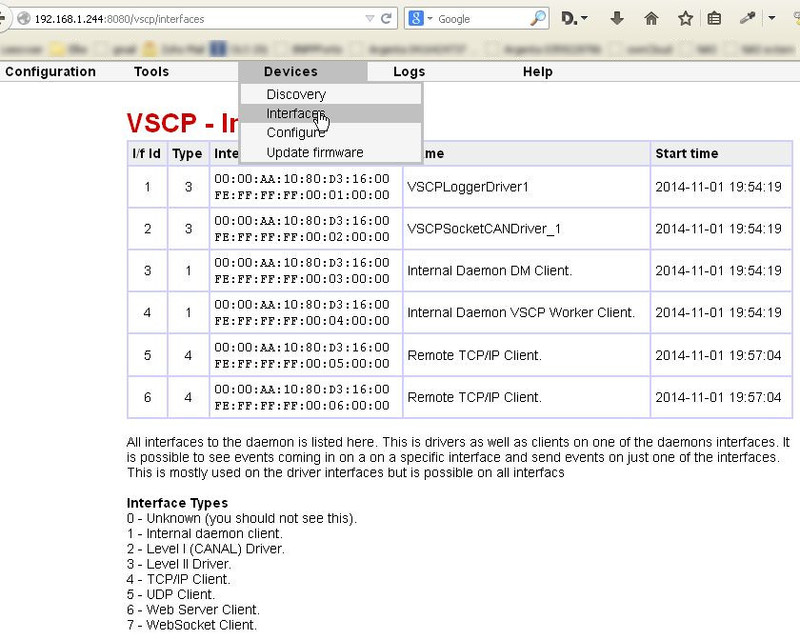
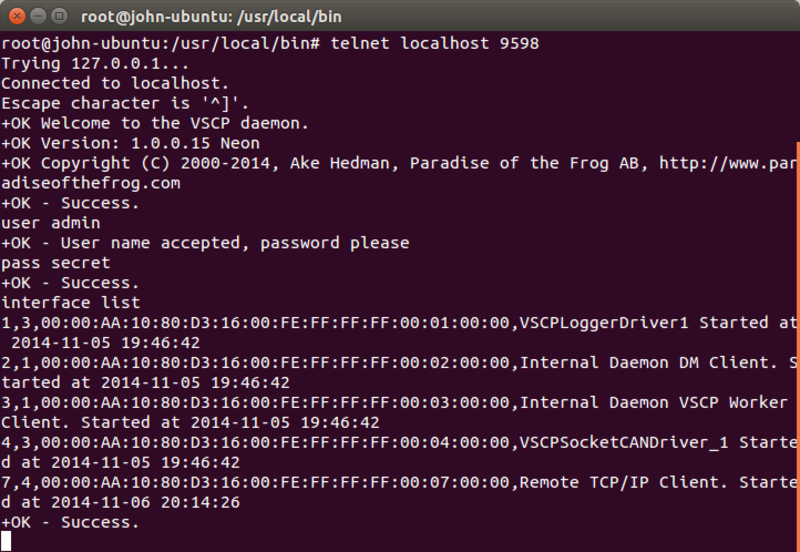
Another way to check if the interface loaded correctly is to log on to the daemon and do a ‘_interfaces list’ command. Use the following commands:
telnet localhost 9598
user admin
pass secret
interface list
You should get a line that shows ‘VSCPSocketCANDriver_1 Started’.
4,3,00:00:AA:10:80:D3:16:00:FE:FF:FF:FF:00:04:00:00,VSCPSocketCANDriver_1 Started at 2014-11-05 19:46:42
Connecting VSCP Works
Now let’s try to connect a VSCP Works client to the daemon to see if we can see packets over the interface. I’ll be using a client on another machine, running Windows XP.
Let’s open a client window.
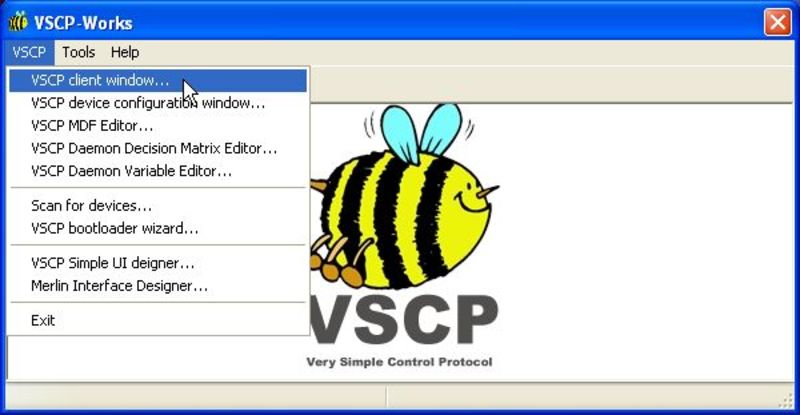
Select the interface TCP/IP: Oxygen and click edit to edit the interface settings.

Fill in the IP address of the machine which is running the VSCP daemon. The server port is best left as default (9598), and if you have changed the username and password in the vscpd.conf file on the Linux machine, you should change them here as well. The default password is secret.
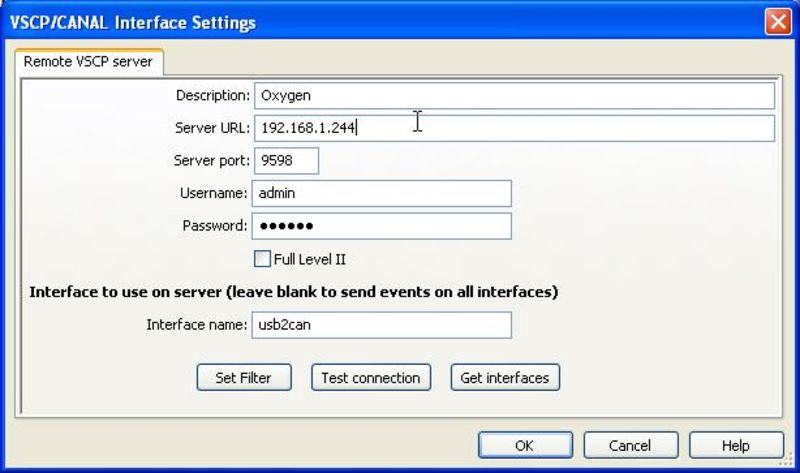
If you want you can test the connection between the TCP/IP: Oxygen interface which we just defined and the VSCP daemon on the other machine by clicking the Test connection button.
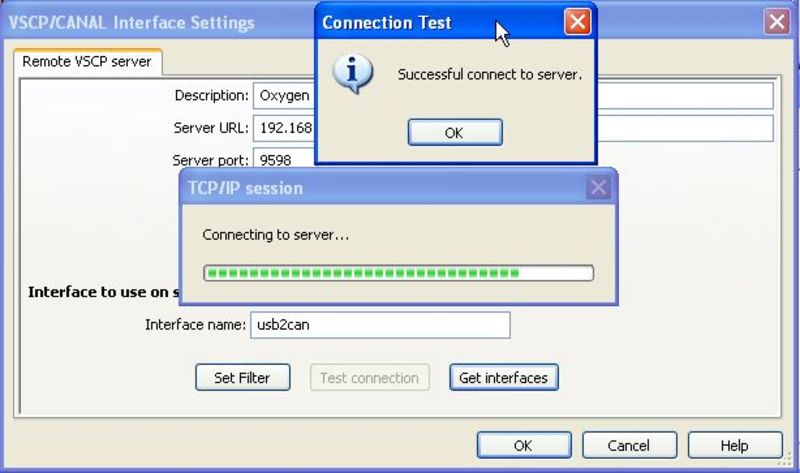
Now click OK and OK again.
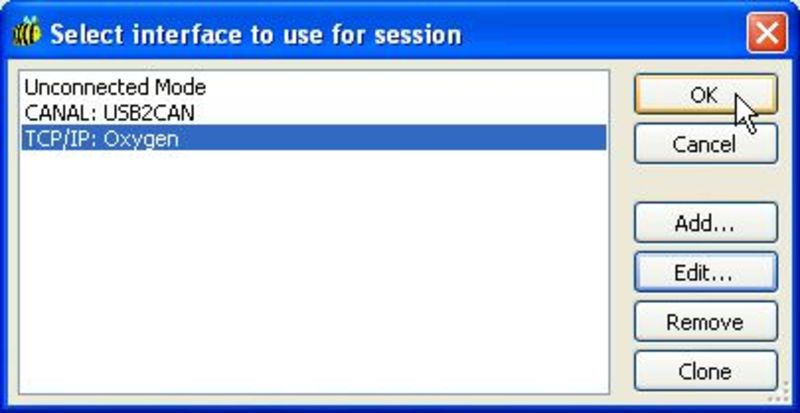
A VSCP client should now open, and it should show Connected as its status.
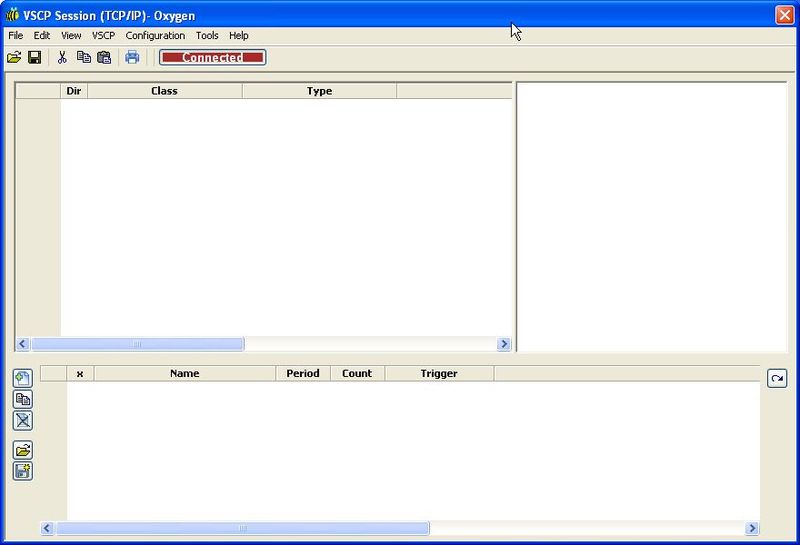
If you generate some events, you should see them in the receive window. I powered up the bus in the screenshot below, so you see nodes identifying themselves as new nodes, and then I generated some button events.
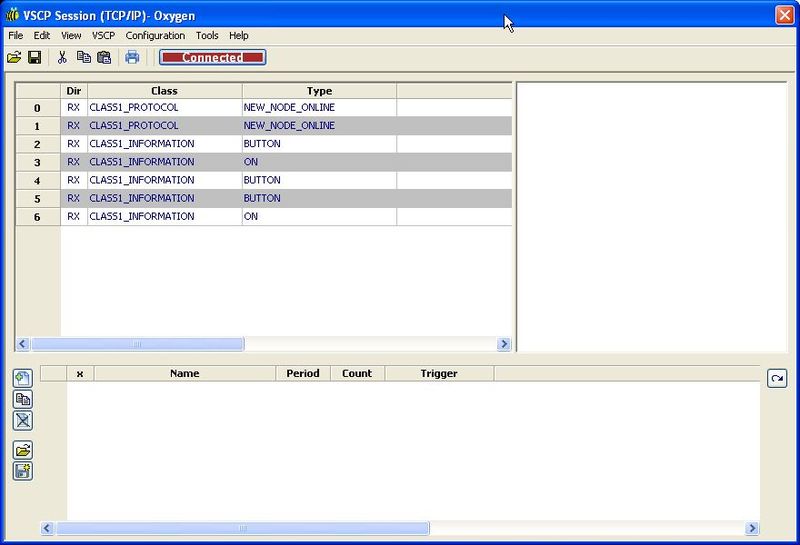
Since connecting a window directly to the USB2CAN interface blocks the interface, it means that only one window can be actively open at the same time. By connecting through the daemon, multiple windows can be open. In the screenshot below for example we’re reading a node’s configuration, while we can monitor the register read requests and responses in a client window.

Differences daemon - USB2CAN
There are some differences when connecting through the daemon instead of directly to the USB2CAN interface:
- You’ll need to connect to the TCP/IP: Oxygen interface instead of to the CANAL: USB2CAN interface (obviously)
- You’ll need to use the full GUID to address the device instead of the shorthand.
- You can have multiple open and active (connected) windows at the same time